要怎麼把公司 UI 共用元件庫打包發佈讓所有專案能夠使用又不希望上傳到公開的元件庫?
一般下載套件如使用 yarn 作為套件管理工具都是到公開元件 https://yarnpkg.com/ 做下載,但公司的東西不希望放到公開的地方,希望能夠放到自己的機器上。目前公司是將所有程式碼都存放在自己架 Gitlab 機器上。
前端的共用 UI 元件庫要怎麼推到 Gitlab 上,並可以從 Gitlab 做下載呢?
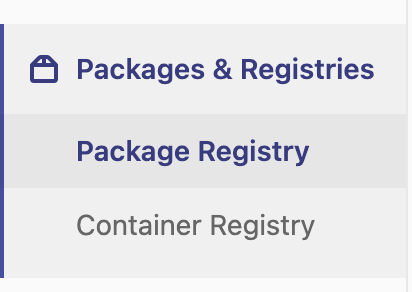
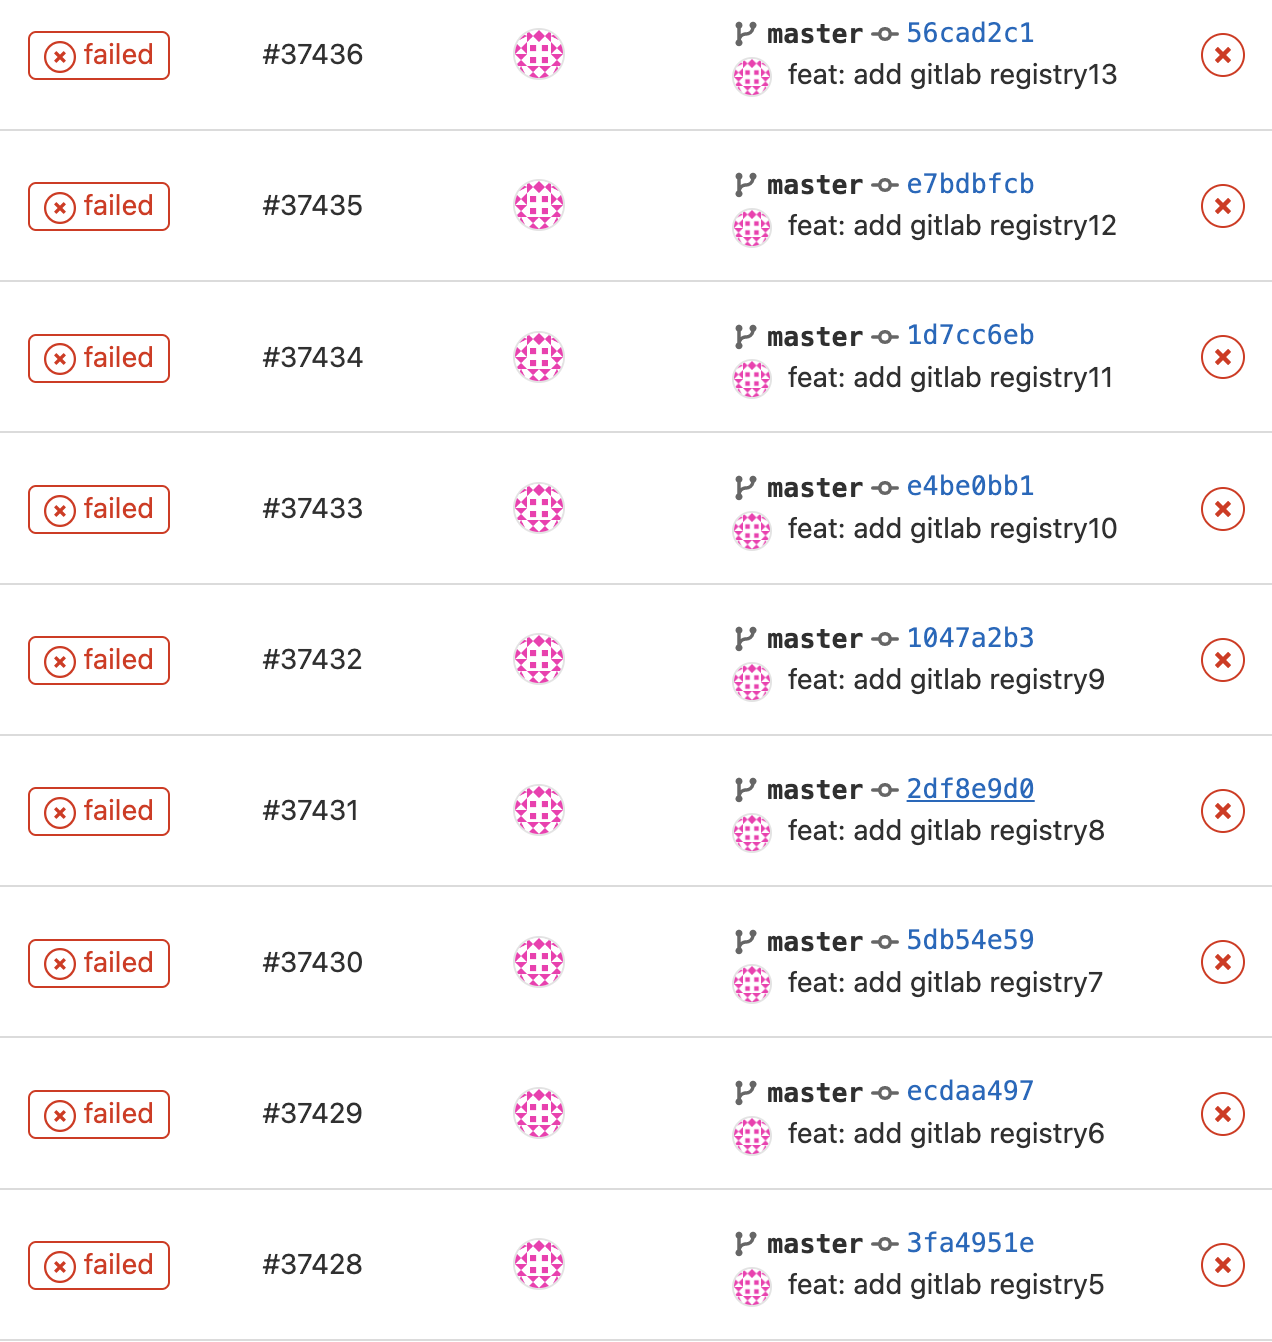
Gitlab 有提供 Packages & Registries(圖 1)讓套件上傳的空間。配合 CICD 每次 push 或增加 tag 時能夠一併做發佈的動作(圖 2)
| 圖 1 | 圖 2 |
|---|---|
 |  |
之前做法
直接把原始碼與編譯後的檔案推到 Gitlab 上,然後增加 tag 來區分不同版本。
yarn add https://<gitlab-url>/fe-common-library.git#3.89.0
直接把整包放到 node_modules 中,會造成 node_modules 裡面包了其實用不到的原始碼。
node_modules 迷因

流程步驟
- 開發元件並透過StorybookUI 開發工具預覽
- 透過Webpack, Rollup 等工具編譯打包
- 建立 CICD, 每次 push 時自動發佈到 Gitlab Registry
- 安裝至使用的專案
1. 開發元件
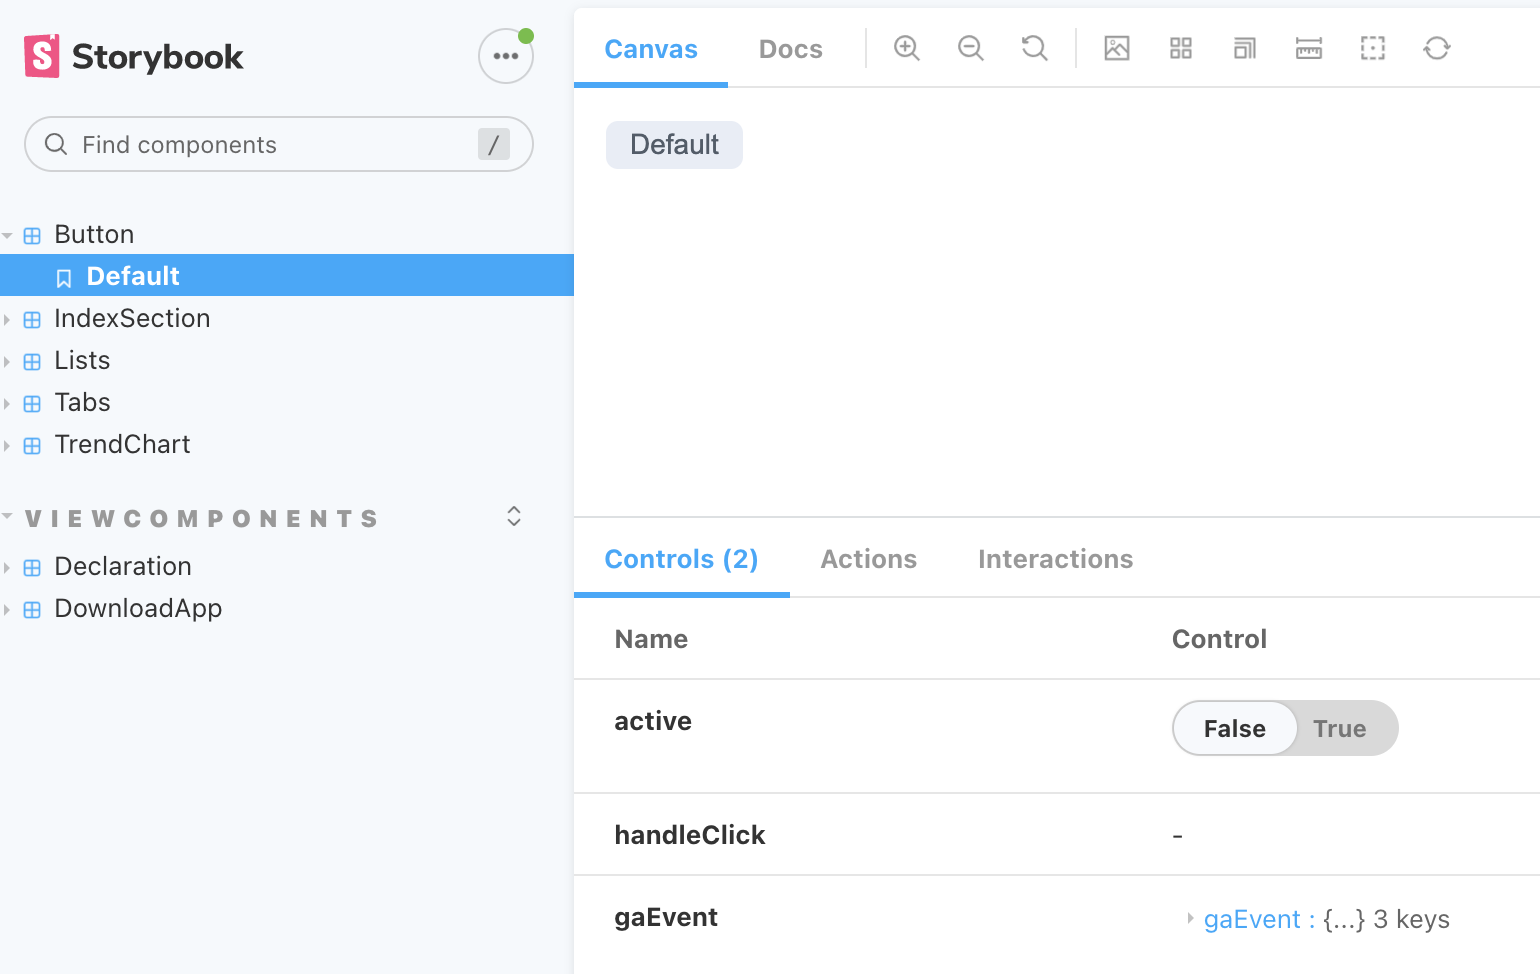
透過Storybook可以方便預覽每個元件的樣式與有什麼參數可以使用。例如按鈕元件,可以透過下方控制欄看出有什麼參數可以使用,與觸發時的樣式預覽。

2. 透過 Rollup 編譯打包
Rollup 輕量的打包工具,只要有一個設定檔 rollup.config.js, 執行 rollup -c 編譯就可以產出對應的輸出打包檔案。
import resolve from "@rollup/plugin-node-resolve";
import commonjs from "@rollup/plugin-commonjs";
import peerDeps from "rollup-plugin-peer-deps-external";
import { terser } from "rollup-plugin-terser";
import postcss from "rollup-plugin-postcss";
import typescript from "@rollup/plugin-typescript";
import image from "@rollup/plugin-image";
import babel from "@rollup/plugin-babel";
import pkg from "./package.json";

const extensions = [".js", ".jsx", ".ts", ".tsx"];

export default [
  {
    input: "./src/index.ts",
    output: [
      {
        file: pkg.main,
        format: "cjs",
      },
      {
        file: pkg.module,
        format: "esm",
      },
    ],
    plugins: [
      commonjs(),
      resolve({ extensions }),
      peerDeps({
        includeDependencies: true,
      }),
      terser(),
      postcss(),
      typescript(),
      image(),
      babel({ babelHelpers: "bundled", extensions }),
    ],
  },
];
input 程式進入點, output 打包後檔案的檔名、路徑與輸出格式。
plugins 可以加入一些額外擴充功能
{
  "main": "build/index.js",
  "module": "build/index.es.js",
  "scripts": {
    "build": "rollup -c",
  },
  ...
}
遇到問題:
@rollup/plugin-image 在文件上寫說圖片都會被轉換成 base64,會造成體積增加 33%。
試著改用@rollup/plugin-url 可以設定 limit 來將較大的圖片用圖檔的方式存在 build 資料夾內。
但是在專案內會遇到圖片顯示不出來,原因是圖片會到網域的根目錄(/)去拿,不是到 node_modules/lib/build 裡面拿。目前先繼續轉成 base64。
3. 發佈到 Gitlab Registry
到 Settings > Access Token 新增 Project Access Tokens (將 token 加入環境變數)
token 可以到使用者的 Edit Profile 中註冊一個

設定 CICD (Gitlab 只要偵測到專案內有.gitlab-ci.yml 就會執行對應的 CICD)
image: node:12.20.0

stages:
  - deploy

deploy:
  stage: deploy
  script:
    - yarn publish
建立一個 node 環境並執行 yarn publish。只要 push 時就會執行,可以在這裡設定成新增 tag 才執行推版動作。
當 git push 時觸發 CICD,在 Gitlab CI/CD 的頁面就會像這樣,如果推版成功就會有綠色勾勾。

yarn publish 會根據.yarnrc.yml 設定檔來決定佈署的地方與權限設定
npmScopes:
  cnyes:
    npmPublishRegistry: "${CI_API_V4_URL}/projects/${CI_PROJECT_ID}/packages/npm/"
    npmAlwaysAuth: true
    npmAuthToken: "${NPM_AUTH_TOKEN}"
CI 開頭的變數名稱都是 Gitlab 內建的不用另外設定
這裡的NPM_AUTH_TOKEN就會拿到上面的 Access Token
執行 yarn publish 時,會依照 package.json 設定做打包。
{
  "name": "@cnyes/fe-share-components",
  "files": [
    "build",
    ".npmrc"
  ],
  "publishConfig": {
	"@cnyes:registry": "https://<gitlab-url>/api/v4/projects/<project-id>/packages/npm/"
  },
}
files 定義需要打包哪些檔案
<gitlab-url>與<project-id>輸入自己的 gitlab 網址與專案 ID
如果有設定權限還需要設定 npmrc
@cnyes:registry=https://<gitlab-url>/api/v4/projects/<project-id>/packages/npm/
//<gitlab-url>/api/v4/projects/<project-id>/packages/npm/:_authToken=<access-token>
可能會稍微遇到一些問題,但應該都可以解掉...吧

安裝至使用專案
yarn add @cnyes/fe-share-components
預設會到公開的地方下載套件,但是如果是到 gitlab 需要再設定.npmrc來設定@cnyes這個群組名稱要去哪裡下載
@cnyes:registry=https://<gitlab-url>/api/v4/projects/<project-id>/packages/npm/
//<gitlab-url>/api/v4/projects/<project-id>/packages/npm/:_authToken=<access-token>
在元件內引入方式
import { Button } from "@cnyes/fe-share-components";